I love kayaking and know how key it is to fit your gear just right. The foot braces are crucial for support and control, but fixed braces might not be the best for everyone. This guide will show you how to remove fixed kayak foot braces safely, allowing you to install new ones that fit better and enhance your kayaking experience.
Key Takeaways
- Understand the reasons behind removing fixed kayak foot braces and the benefits of adjustable foot braces.
- Gather the necessary tools and equipment for the foot brace removal process.
- Identify the attachment method used for the existing foot braces, whether it’s screws, rivets, or adhesive.
- Learn the proper techniques for safely detaching and removing the fixed foot braces without damaging the kayak.
- Prepare the kayak surface for the installation of new adjustable foot braces.
Understanding the Need for Removing Fixed Kayak Foot Braces
Kayakers often find that the fixed foot braces in their kayak don’t fit right anymore. Kayak foot brace discomfort and wear and tear are common problems. These issues make paddlers want to upgrade kayak foot braces to something more adjustable.
Reasons to Remove Fixed Foot Braces
- Fixed foot braces can become uncomfortable over time, especially for larger or taller paddlers whose needs change.
- The rigid design of fixed braces offers limited customization of kayak foot positioning, reducing overall comfort and control.
- Repeated use and exposure to the elements can lead to kayak foot brace wear and tear, compromising the integrity and functionality of the original equipment.
Benefits of Adjustable Foot Braces
Switching to adjustable foot braces brings many benefits. Kayakers can enjoy:
- Improved comfort and fit by customizing the foot positioning to individual preferences and needs.
- Greater control and stability while paddling through the ability to adjust foot braces for optimal leverage and balance.
- Increased versatility when sharing the kayak with others or transitioning to different paddling conditions or activities.
Upgrading to adjustable foot braces lets kayakers fine-tune their positioning. This why removing fixed kayak foot braces is a smart move for experienced paddlers.
Preparing the Tools for Kayak Foot Brace Removal
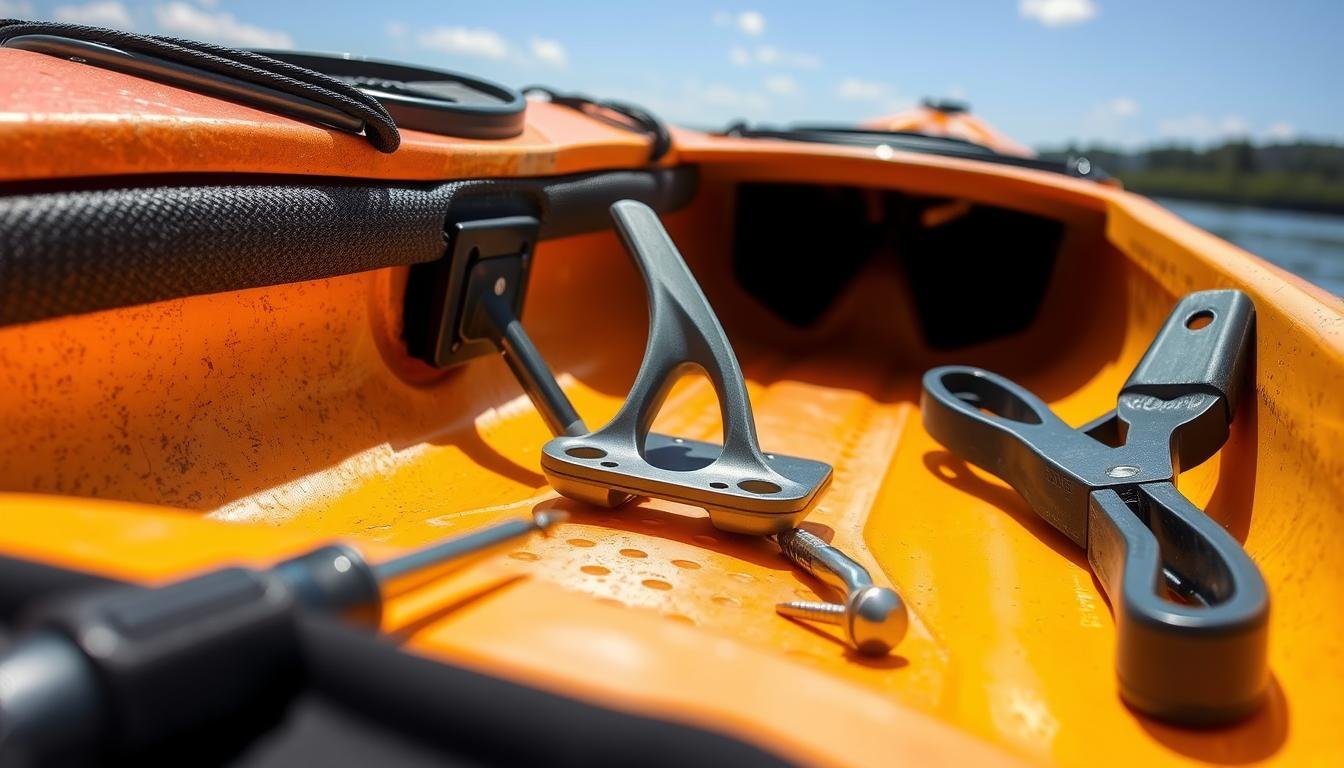
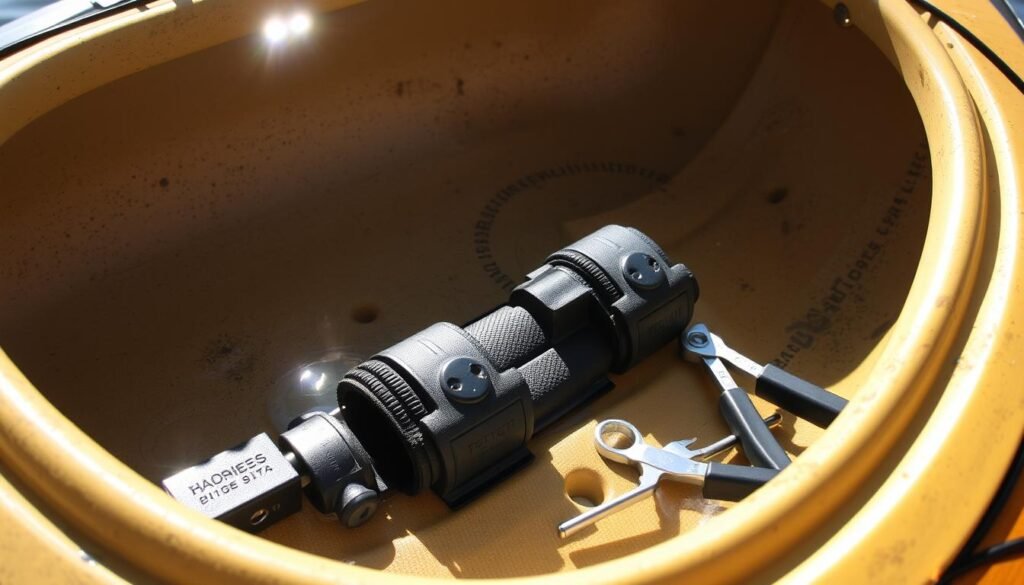
To remove fixed kayak foot braces, you need the right tools. You’ll need a screwdriver, pliers, and an Allen wrench. You might also need silicone sealant to seal the kayak again after removing the foot braces.
A screwdriver, either flathead or Phillips, is key to unscrew the fasteners. Pliers are useful if the screws are stuck or rusted. They give you the extra grip and leverage needed. An Allen wrench is crucial for certain kayak models that use this fastener system for the foot braces.
If you need to reseal the kayak after removing the foot braces, have silicone sealant ready. It helps keep the kayak waterproof and prevents leaks.
| Tool | Purpose |
|---|---|
| Screwdriver (Flathead or Phillips) | Removing the fasteners that hold the foot braces in place |
| Pliers | Loosening stuck or rusted screws |
| Allen Wrench | Removing foot braces secured with this type of fastener |
| Silicone Sealant | Resealing the kayak surface after foot brace removal |
With these tools needed to remove kayak foot braces, you’re ready to remove the foot braces. You’ll have all you need for a smooth and successful process.
Examining the Existing Foot Brace Installation
Before you can remove the fixed foot braces from your kayak, it’s crucial to understand how they are currently attached. This will help you determine the best approach for their removal. It ensures a smooth transition to your new adjustable foot braces.
Identifying the Attachment Method
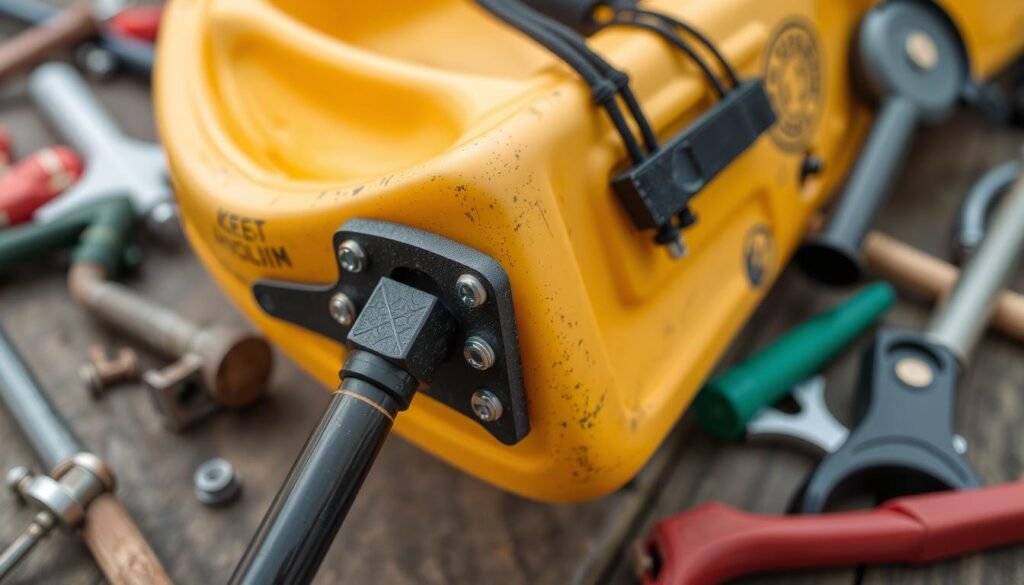
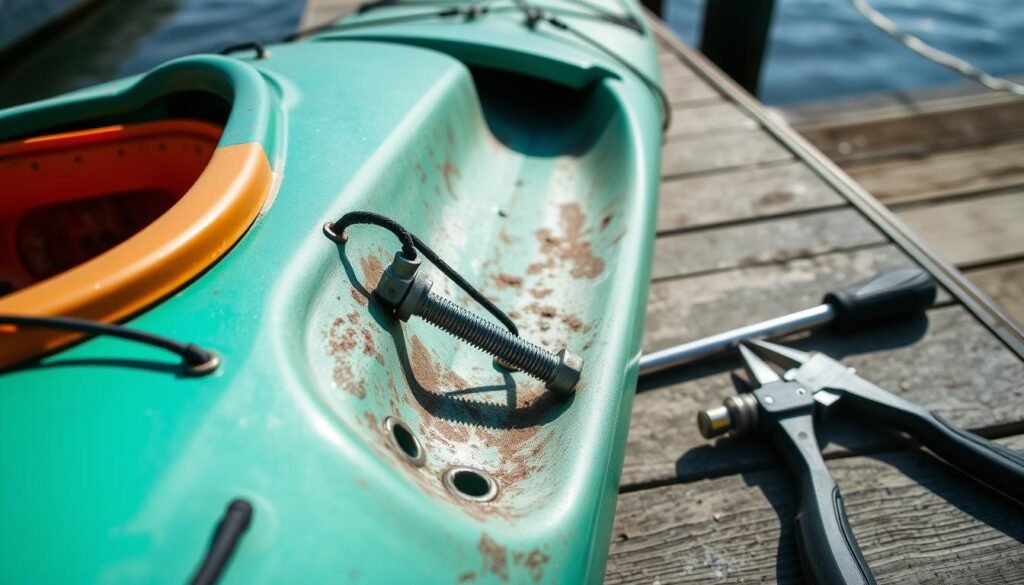
Most fixed foot braces are either screwed or bolted into the kayak’s hull. Take a close look at your current foot braces and observe the hardware used to secure them in place. Are they attached with screws that you can simply unscrew, or are they bolted from the outside of the kayak?
Checking for Adhesive or Sealant
In some cases, the foot braces may be sealed with an adhesive or sealant, such as silicone, to prevent water from entering the kayak. This can make the removal process more challenging. You’ll need to carefully pry the braces off without damaging the kayak’s surface. Be on the lookout for any signs of adhesive or sealant around the base of the foot braces.
By closely examining the existing foot brace installation, you’ll be better prepared to tackle the removal process. This ensures a seamless transition to your new adjustable foot braces.
How to Remove Fixed Kayak Foot Braces
Removing fixed kayak foot braces is key to upgrading your kayak. This step-by-step guide will help you remove them easily. It makes sure the process is smooth and quick.
First, get the right tools. You’ll need a screwdriver that fits the screws on your foot braces. If screws are stuck or rusty, pliers or WD-40 can help. With the right tools, you’re set to start.
- Use the right screwdriver to unscrew the foot braces. Be careful not to damage the screws.
- If screws are hard to remove, use WD-40 or a similar lubricant.
- After removing the screws, pull the foot braces out of the kayak gently.
If the foot braces are stuck with adhesive or silicone, use a flathead screwdriver. Gently pry them off, working around the edges to avoid damage.
| Foot Brace Material | Removal Technique |
|---|---|
| Plastic | Unscrew and gently pull out |
| Aluminum | Unscrew and pry off if adhesive-sealed |
Take your time and work carefully to avoid damaging your kayak. With these detailed instructions for kayak foot brace removal, you’re ready to upgrade or maintain your kayak. This will make paddling more comfortable and fun.
“Proper boat fit trumps apparent stability when it comes to control and comfort.”
Detaching and Removing the Fixed Foot Braces
Removing fixed kayak foot braces is easy but needs care to avoid damage. The method depends on how they’re attached to your kayak.
Unscrewing the Foot Braces
First, find the right screwdriver for the screws holding the foot braces. Be careful not to strip the screws. If they’re stuck or rusted, use pliers or WD-40 to loosen them.
Prying Off Adhesive-Sealed Braces
For adhesive-sealed braces, use a flathead screwdriver to pry them off. Be careful not to damage the kayak. Work slowly to lift the braces off.
After removing the foot braces, clean the area well. This makes it ready for new adjustable braces or other changes.
“The key to successfully removing fixed foot braces is to take your time and use the right tools. Rushing the process can lead to damaged kayak surfaces or broken foot braces.”
Cleaning and Inspecting the Kayak Surface
After taking out the fixed foot braces, it’s key to clean the kayak well. This makes sure the kayak is ready for the new foot braces. You need to get rid of dirt, old glue, and other stuff left from before.
To clean the kayak, start with a mild soap and warm water. Use a soft brush or cloth to clean the spots. Don’t use harsh cleaners or rough pads, as they can harm the kayak. After cleaning, rinse it well with fresh water to get rid of soap.
Now, check the kayak for any damage from removing the foot braces. Look for scratches, cracks, or other problems near where the foot braces were. Even though fiberglass and kevlar kayaks are tough, it’s still good to check for damage.
| Kayak Material | Damage Susceptibility | Recommended Repair |
|---|---|---|
| Fiberglass | Moderate scratches, potential cracks | Fiberglass cloth and marine-grade epoxy resin |
| Kevlar | Minimal scratches, less prone to cracks | Kevlar cloth and marine-grade epoxy resin |
| Polyethylene | Prone to superficial and cosmetic scratches | Marine-grade sealant for small cracks or holes |
If you find any damage, fix it before putting in the new foot braces. Check your kayak’s manual for the right way to fix it.
Cleaning and checking the kayak well helps you switch to the new foot braces smoothly. This keeps your kayak in top shape and working great.
Kayak Foot Brace Removal for Equipment Upgrades
Removing fixed kayak foot braces is a great chance to upgrade your gear. You can install new, adjustable foot braces that fit your kayak model. These braces let you adjust your foot position, making paddling more comfortable and controlled.
Choosing Replacement Adjustable Foot Braces
When looking to upgrade your kayak’s foot braces, keep these tips in mind:
- Make sure the new braces fit your kayak model. This ensures a good fit and avoids problems.
- Look for braces that adjust a lot. This lets you find the best spot for your feet and legs, improving comfort and control.
- Choose braces made from strong materials like aluminum or plastic. They need to last through your kayaking trips.
- Think about how easy the braces are to install. This can save you time and hassle.
By picking the right adjustable foot braces, you can make your paddling better. You’ll feel more comfortable and in control.
| Feature | Importance | Compatibility | Adjustability | Durability | Installation |
|---|---|---|---|---|---|
| Upgrading kayak foot braces | High | Essential | High | High | Moderate |
| Choosing adjustable foot braces | High | Essential | High | High | Moderate |
| Compatibility of new foot braces with kayak model | High | Essential | High | High | Moderate |
By thinking about these points, you can pick the best adjustable foot braces. This will make your kayak better, ensuring a fun and controlled paddling experience.
Installing New Adjustable Kayak Foot Braces
First, remove the old foot braces and clean the kayak well. Then, it’s time to put in the new adjustable ones. This step needs careful alignment and secure fixing for a good fit and performance.
Alignment and Secure Installation
Start by lining up the new foot braces with the old holes. This keeps the kayak strong and avoids extra drilling. Place the new braces in the middle, making sure they’re straight with the kayak’s center.
Then, screw them in carefully. Don’t screw too tight to avoid hurting the kayak’s hull. The SEA-LECT Designs Adjustable Footbrace lets you adjust with a simple lever. This makes it easy to find your perfect fit.
Waterproofing and Sealing
If your kayak needs to stay dry, use a silicone sealant around the screws. This makes a tight seal and keeps water out. It makes paddling dry and comfy.
Remember, installing foot braces might change your kayak’s hull forever. If you’re unsure, get help from a local dealer. They can offer support and advice.
By aligning and securing the new foot braces well, and sealing them, you’ll make your kayak better. You’ll enjoy paddling more. Follow these steps to how to install new adjustable kayak foot braces, aligning and securing new foot braces, and waterproofing kayak after foot brace installation.
Conclusion
Removing fixed kayak foot braces is easy with the right tools and steps. You might need to replace old braces or upgrade to adjustable ones. This guide helps you do it right, making your kayak more comfortable and easier to control.
Most foot braces are screwed in, but some are bolted on. You’ll need a screwdriver, pliers, Allen wrench, and silicone sealant. These tools help you remove the old braces quickly.
Before putting in new braces, check the kayak for damage. This ensures your new setup lasts long and is secure.
Adjustable foot braces offer more flexibility and customization. They’re great for bigger paddlers who need comfort and stability. Even though some systems have issues with sand and salt, others like Sea-Lect Designs are sturdy and work well.
By carefully removing and installing your kayak’s foot braces, you improve your paddling. You’ll enjoy a setup that’s just right for you.


